Sunday, 30 September 2012

Empire Cookies

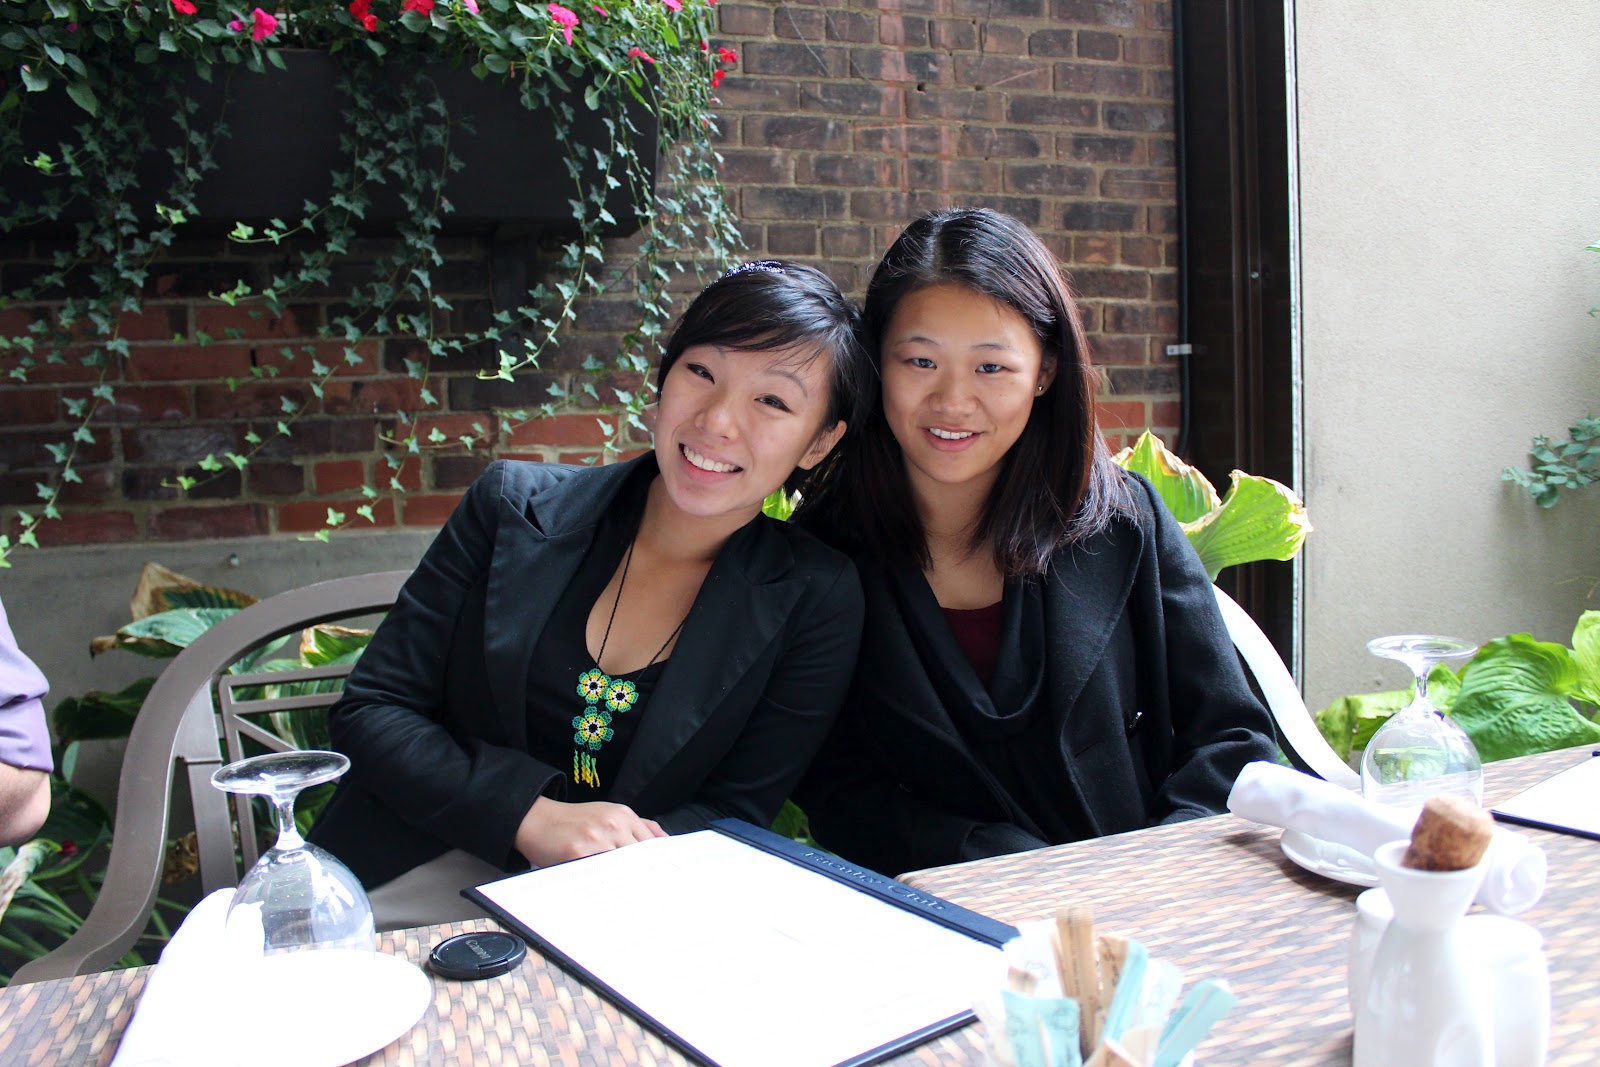
My boss at work is getting married! He took us out to lunch today at the University of Toronto Faculty Club where we gave him a framed photo of our work team, a scarf, and Empire Cookies (which he had sent me an email about long ago to make).


Empire cookies are pretty much sandwiched sugar cookies with jam, icing, and a candied cherry bit.

This recipe makes 12 regular sized sandwiched cookies. I had a large cutter so it only made 8.
Sugar Cookie Recipe (from Anna Olson):
  • 1/2 cup + 2 Tbsp unsalted butter, room temperature
  • 1/2 cup + 2 Tbsp icing sugar, sifted
  • 1 hard-boiled large egg yolk
  • 1 large egg yolk
  • 1/2 teaspoon vanilla extract
  • 1 3/4 cups cake and pastry flour, sifted
  • 1/4 teaspoon salt
Icing and Middle:
  • 1/3 cup raspberry jam
  • 1 cup icing sugar, sifted
  • 1-2 Tbsp warm water
  • 1/4 teaspoon almond or vanilla extract
  • 6-8 glacĂ©e (candied) cherries, each chopped into 6 bits
Preheat your oven to 325 F.

In a large bowl, combine your unsalted butter and sifted icing sugar.


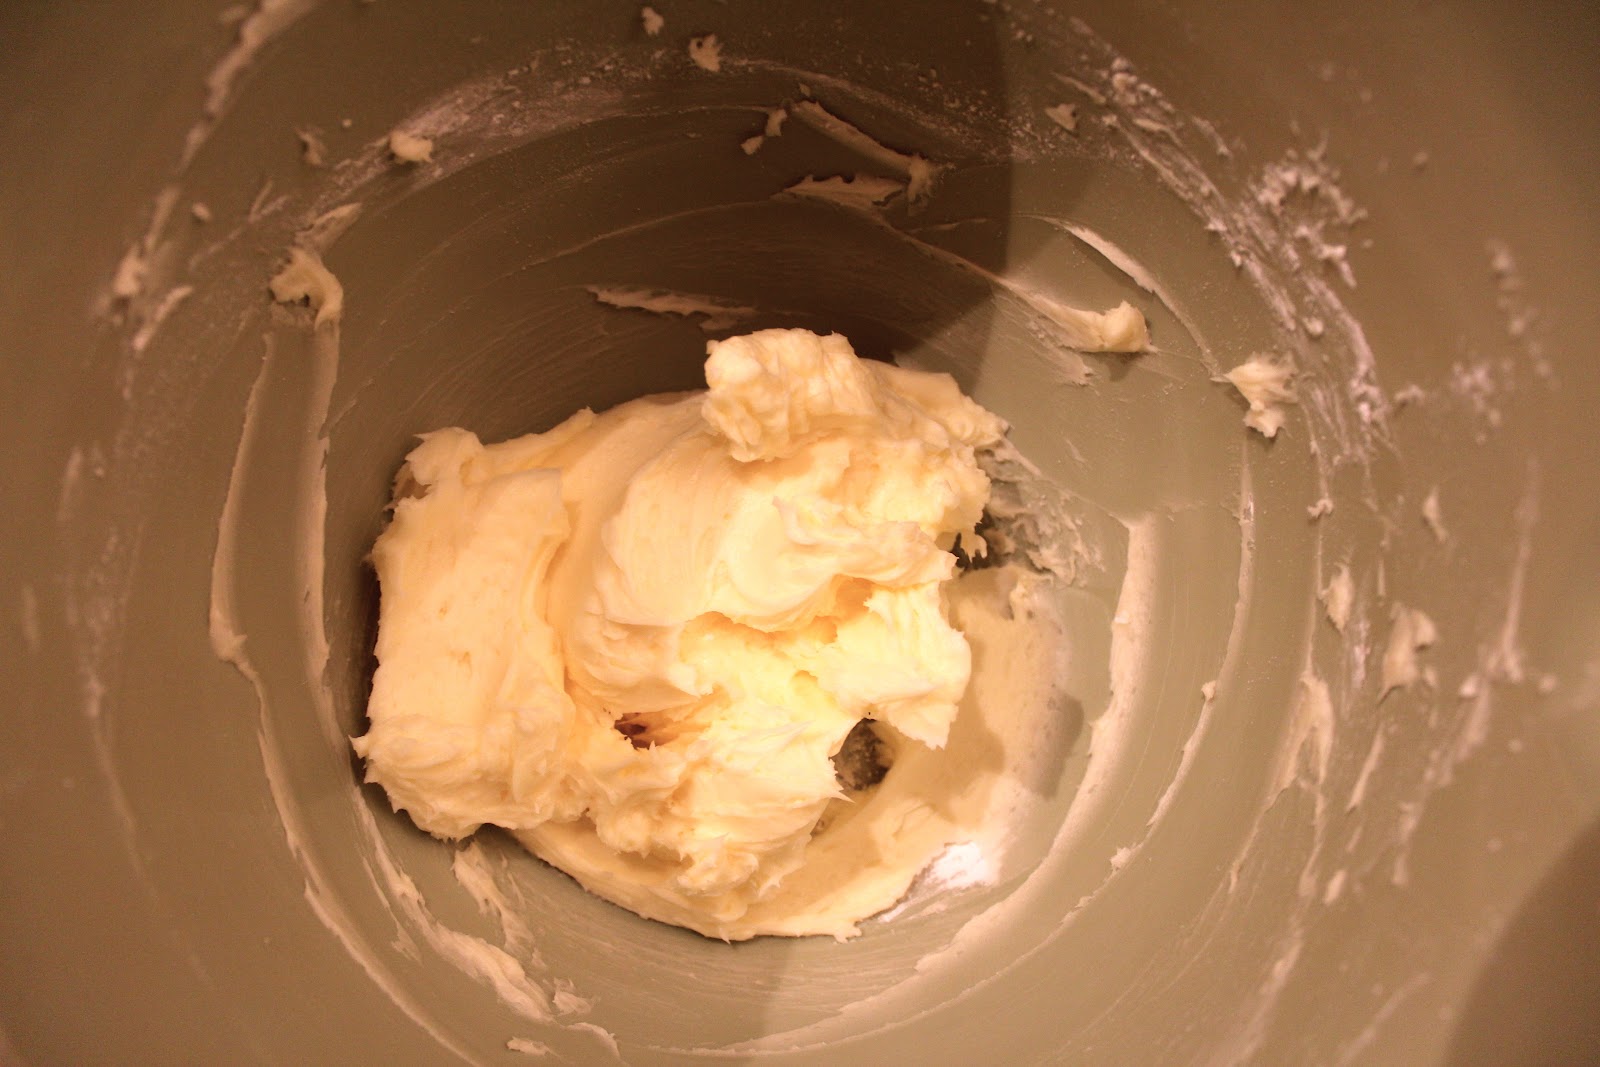
 Beat until nice and fluffy, about 30 seconds to a minute.


Boil one egg and separate your second egg. Drop in your egg yolk from the separated egg. (Tip: you can freeze the egg white providing that you don't touch it too much and keep it for up to 2 weeks in an airtight container! Perfect for macarons)


Scoop out your hard-boiled egg yolk and push it through a sift.


Beat this all together on medium for a minute or two to combine.

Push your dough into a shape of a ball, wrap it up, and put in the fridge for at least 2 hours. Sugar cookies are especially hard to deal with when warm because of their high butter content (think warm butter, it melts!). You can also make the dough the night before, put it in the fridge, and roll it out the next day. Makes for more manageable cookies!


After it's been in the fridge for a while, roll your dough out. You want it to be rolled out to about a 1/4 of an inch's thickness. Any thinner and the butter will start melting when you touch it. 


A big tip for sugar cookie dough - touch it as little as possible. I've always had a lot of difficulty trying to cut shapes and move it onto a tray because the moment i try to pick it up, it droops and the shape is lost.

Using a cookie cutter (or other circle object), bake your cookies about an inch apart for 10-12 minutes until just golden brown at the edges. Be sure to let them sit for at least 20 minutes before you touch them to assemble. They're very delicate straight out of the oven and I actually cracked one trying to move it when it was warm. 


Once cooled completely, grab a jam and spread it out in the middle. Gently sandwich your cookies together.


For the icing, combine the icing sugar, water, and vanilla extract. Whisk or beat it until mixed. Spread a thin layer onto your cookies.

For your candied cherry, I suggest drying it on a paper towel before placing on top of your cookie. I didn't dry mine very well and they turned the icing a little red.

Let the cookies dry for 2-3 hours before placing into an airtight container. You can freeze them overnight to keep them fresh for up to 3 days.

Photos from our lunch:


Olive oil & balsamic vinegar


Mac and Cheese with Smoked Salmon!


Thanks for coming by! Enjoy.

- Jane

Thursday, 13 September 2012

Understanding Vanilla Cupcakes

I just made the most amazing vanilla cupcakes. I'll backtrack a bit first:


A fellow baker and blogger, Kyleen, posted a while back about how she used to fear Vanilla Cupcakes and I know 100% how that feels. I never was a big fan of plain vanilla cupcakes; they're sweet and seem almost shallow - there's no unexpected hit that comes with it or any acquired appreciation of the taste. Unlike the Red Velvet Cupcake, Vanilla Cupcakes don't carry a second subtle flavour that keeps you guessing. It also doesn't throw you off with a entirely different tasting frosting either. It's just sweet and sugar.

And I suppose that's where my newfound appreciation for Vanilla Cupcakes has slowly grown from. They almost seem like starting a plain palette - what can I add to it, where can subtlety stem from, how can I kick it up a notch, how can I throw the taster off? Mind you, I'm still not a big fan of the 'just sugar' taste but I can appreciate how it melds with other flavours so well.

My personal fear of Vanilla Cupcakes came from the difficulty I've always had with them. I was always so envious of people who would just make cupcakes from the Betty Crocker mixes - they'd have perfect cupcakes (albeit too sweet) in 20 minutes and be able to say 'yeah, I made vanilla cupcakes', whereas I would be sitting at home mixing and beating and baking and I'd still end up with stiff and dry cupcakes.

I was thinking about this on my walk home today as I was passing by an Indigo, the bookstore near my apartment. I wasn't actually intending on going to the cookbooks section but I always end up there. I went to the cakes section, found the Magnolia Bakery cookbook (one of the preeminent cupcake bakeries out there who gave cupcakes their reputation and fan-base), and went to the helpful tips for cakes section. Their biggest tip was making sure you beat the butter and sugar mixture for 3-4 minutes so it actually accumulated size and turned pale.

I also opened up a couple more cookbooks, even some unrelated ones (William Sonoma's cookbook for pies & tarts, oh my), read through all the tips, and went home ready to tackle the elusive vanilla cupcake again.

And every time I bake, I remember how the thing I love most about baking is how complicated it is - most of the time it's really not about just throwing ingredients together and following a recipe. It's about how you bake it, why you're baking, and how much you're willing to listen to what you're baking. It's also not always about the recipe, it's the method.

These cupcakes were amazing. My roommate and I literally could not stop eating them - they are the lightest cupcakes I've ever eaten, lighter than the ones made from mix or in the stores (that's right), and I'm overjoyed. The thing you want/need to pay attention to with the classic vanilla cupcake recipe is the times for everything. Where I always went wrong time after time was not reading the times carefully - I never let my butter and sugar get fluffy like they were supposed to because I merely beat them to mix evenly instead of beating them to gain size and become light.

Kyleen gave me the vanilla cupcake recipe she used here so I'll share it with you all (makes 12):

  •        1 cup plus 2 tablespoons flour
  •        2 tablespoons cornstarch
  •        1 ½ teaspoons baking powder
  •        1/8 teaspoon salt
  •        ½ cup unsalted butter, at room temperature
  •        ¾ cup granulated sugar
  •        1 teaspoon pure vanilla extract
  •        2 large eggs, at room temperature
  •        ½ cup milk or sour cream, at room temperature

Preheat your oven to 350 F first-off.

In one bowl, sift together your flour, cornstarch, baking powder, and salt.

In a second bowl, beat your room temperature butter with your mixer at medium-high for about 30 seconds to a minute. You want it to start paling and get fluffy.


Continue beating on low-medium and pour in your sugar, a bit at a time.


This is where you want to spend a lot of your time. Add in your egg and beat for 3-4 minutes on medium. Literally watch a clock and make sure you've hit at least 3 minutes.


It gets into this scrambled egg look but it'll go away as soon as you start whipping!
3-4 minutes later, it turns into this gorgeous fluffy goodness

You'll notice your mixture turning pale and very fluffy, almost doubling in size. This is what's called creaming. This is basically your secret to fluffy and lighter cupcakes.


Fold in the dry with the wet ingredients carefully. Make sure you are not beating or whisking the mixtures together, you don't want everything you just did go to waste. Fold until well mixed.

Add in your milk and vanilla extract, fold in some more, and you're good to go.


Scoop into your cupcake tray, bake for 20-25 minutes, and let cool for 30 minutes to an hour.


For the icing, you can choose any. I've cited before on another post: here's a Swiss Meringue Buttercream recipe and here's a typical Vanilla Buttercream or American Buttercream recipe.


That's it. Simple and delightful, enjoy!

Troubleshooting:
Q: Your batter's ending up stiff and dry when you bake it?
A: Be sure that your butter and eggs were at room temperature prior to baking. If they were, be sure that when 'creaming', you let the butter, eggs, and sugar beat for at least 3 minutes.

Q: I did all that and it still ended up stiff and dry?
A: You probably over-baked it or over-added your dry ingredients. Make sure your dry ingredients are to measure and that you check at the 20-minute mark whether they're done or not. Every oven's different and some can be off by almost 25 F. Gauge a good idea of where your cupcakes are at at 20-minutes and check again in 2-3 minutes.

Additional questions, comments, or concerns? Shoot them below! Thanks.

- Jane

Friday, 31 August 2012

Catering: Rotman Commerce Students' Association (Informal) Leader Social

My first catering job (of many, hopefully)! By 'my' I'm referring to my baking business with my partner, Lizzie. Our website is coming soon.

This was the Rotman Commerce Students' Association (Informal) Leader Social - Rotman Commerce is my current study of program, for context - and this event was aimed at gathering student leaders for a fun social event prior to the start of another crazy school year. 

It was a classy tea party setting with a presentation at the end of the room. Macarons, cupcakes, sandwiches, biscuits, and tea were served.
My partner and I prepared 3 types of cupcakes and 4 types of macarons for the event. We delivered them for the first section of the social - the tea party portion. I made the 3 cupcakes - vanilla, chocolate, & red velvet, and 1 of the macarons - salted caramel. My partner made the other 3 macarons - rose, lemon, vanilla/chocolate. 

Everything was brought to the event unfrosted and I piped prior to the event

Red Velvet cupcakes with cream cheese frosting and vanilla cupcakes (with chocolate chips) and chocolate frosting

Vanilla cupcakes moments after I piped the frosting

Red velvet cupcakes and vanilla cupcakes decorated with candy pearls

Salted Caramel Macarons!

Lizzie made all of these macarons in one night! 

Almost everything! Another tray of cupcakes sat behind the box of macarons. Isn't this a feast for the eyes?

I loved this about the tea party - the array of teas, all from Davids' Tea.

Setting up at the social - very classy.


Chocolate chip peaking out from inside the cupcake
The 'Pink Flamingo' tea smelled delicious
A rose macaron sitting proudly on top


Members of the Students' Association setting up the cupcakes 

Things I learned through this experience:
- To be a little more realistic with how much I can accomplish in a certain length of time
- I've got miles to go in perfecting the Swiss Meringue Buttercream
- To get a weekly pass for public transportation during these events
- To buy cheaper ingredients and have them all at once!

I had a great time setting up for this event though! I thought it was such a cute idea.

If you attended and had any of the cupcakes or macarons, leave your comments, concerns, and suggestions! I've definitely still got work to do on the Vanilla cupcakes as they have a hard time being moist, but I'm only getting better!

Thanks for stopping by!

- Jane


Wednesday, 15 August 2012

Peach & Apple Galette

After a very long day of studying, all I want to do was come home and make some sort of a pie.

Galettes (which I now know are pronounced with a hard 'g' like 'goats') are a rustic type of tart that don't require any sort of tray to hold its shape. They're so easy, fun, and delicious. They're also not too sweet which is exactly what I need right now.

They can be made with all types of filling - strawberry, rhubarb, apple, peach, pear, figs, etc.
But they aren't limited to just sweet - cheese & spinach, ham, bacon, etc.
They can be decorated with almonds or other types of nuts.


Typical galettes leave the top uncovered but many traditional types cover the top and bottom as if a free-standing pie.

Ingredients:
  • 1 Basic Pastry Dough
    • 1 1/4 cups flour
    • 1/4 - 1/3 cup cold butter
    • 1 pinch salt
    • 1 tbsp sugar
    • 1/4 - 1/2 cups cold water
  • 1 peach, cored
  • 1 good apple, peeled (or not, your choice)
  • 3 tbsp white sugar
  • 2 tbsp brown sugar
  • 1/2 - 1 tbsp cinnamon
First, preheat your oven to 400 F.

Then, make your dough:
I showed the step by step process of making a basic pastry dough in my Apple Pie recipe. It's exactly the same so just follow that.

When your dough's in the fridge to cool, prep your fruits. I cored my peach by cutting a straight line all around the fruit and turning. Get rid of the pit and the hard bits in the middle. 


Start by slicing thinly from the centre outwards, trying to make even sizes of apple and pears. For an idea of how they'll look, here's mine below.

These don't look too pretty only because they've been tossed in brown sugar, cinnamon, and white sugar. And that's your next step, toss the apples and peaches in cinnamon, brown sugar, and white sugar.


Once you roll out the dough, cut it into a 13-inch circle (I estimated). Here's where I suggest moving the dough to your actual baking tray, I had this whole fiasco trying to move my prepared Galette onto the baking tray. 

Arrange your sugared fruit onto the pastry dough like above (or however you'd like). Fold one flap inwards, grab the right or left corner of the flap and fold inwards. Go around in a circle.


Once done, you can choose to decorate the top however you'd like. You can sprinkle it with sugar, decorate with slices almonds, or brush it with a beaten egg like I did. Pop it in the oven for 40 minutes until nice and golden brown.


I used a very ripe peach so once it came out of the oven, there was a large amount of syrup left behind. Not a bad thing at all though, it's delicious and will leave a nice gloss when cooled.


And that's it! Definitely a very simple and rustic pastry. Serve warm with ice cream!


Enjoy!

- Jane